28 Oct How to carve Halloween pumpkins
Carving pumpkins, is a fun and popular activity, especially during the Halloween season. It involves hollowing out a pumpkin and carving designs, usually faces or other creative shapes, into its outer shell.
Here’s a step-by-step guide on how to carve a pumpkin:
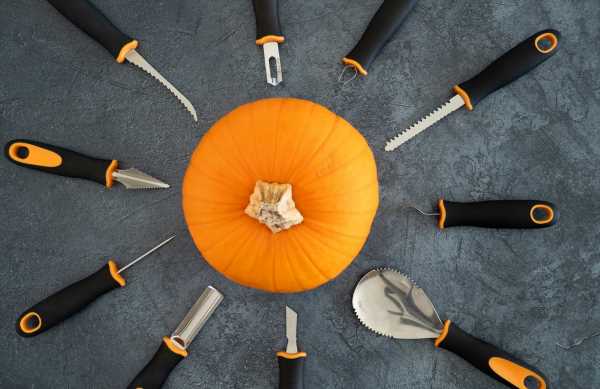
Materials needed for pumpkin carving:
- A pumpkin (medium to large size is easiest to carve)
- Pumpkin carving kit or sharp knives
- Spoon or ice cream scoop (for removing the insides)
- A marker or stencil (for outlining your design)
- Candle or LED light (optional, for lighting up the carved pumpkin)
Steps for Pumpkin Carving:
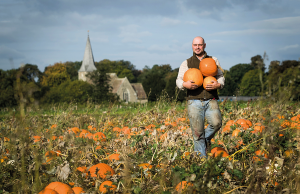
1.Select Your Pumpkin: Choose your pumpkin carefully from a shop, or your local farm pick-your-own pumpkin patch. A pumpkin with a flat base so it can sit upright. Make sure it is fresh, with no soft spots or bruises. Top tip: don’t select and carve your pumpkin too early or it may go ‘soggy’ and ‘flop’ before Halloween.
2.Cut Off the Top: Using a sharp knife, (parental supervision needed) cut a circular opening around the stem. Angle the cut so that the top can rest back on the pumpkin without falling in. The hole should be wide enough for your hand to fit through. Alternative: some people prefer to cut the circular hole in the base of the pumpkin, the choice, is yours.
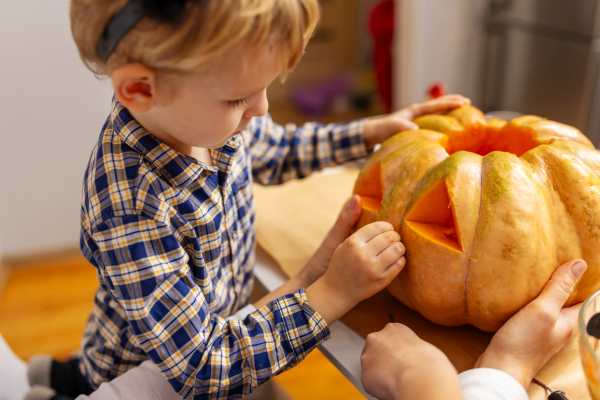
3.Scoop Out the Insides: Remove all the seeds and stringy pulp from inside the pumpkin using a large spoon or scoop. Scrape the sides clean. Top tip: you can save the seeds and dry them out/save and grow your own pumpkin.
4.Draw or Use a Stencil for Your Design: Use a marker to draw the design directly onto the pumpkin, or tape a stencil to the surface if you’re using one. Traditional pumpkin (or jack-o’-lantern see below) faces are popular, but you can get creative with any design you like. History: The name jack o lantern originates from the Irish folktale of Stingy Jack, a man destined to wander the earth with only a carved-out turnip to light his way after tricking the devil.
5.Carve the Design: Use a small serrated knife (parental supervision needed) or a pumpkin carving tool to cut along the lines of your design. Take your time to avoid cracking or breaking off pieces.
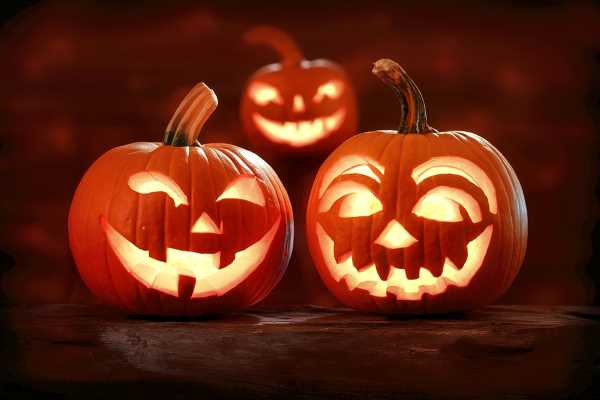
6.Light It Up: Once the design is complete, place a small candle or an LED light inside the pumpkin to illuminate your work. Replace the top, and your pumpkin is ready!
7.Display Your Pumpkin: Place your carved pumpkin in a prominent spot for others to enjoy, like your front porch. Top tip: keeping the pumpkin outdoors will keep it cool and ensure it lasts longer than keeping indoors.
If you’re not into traditional designs, you can experiment with patterns, shading, or even use tools like drills to create dotted designs. Carving pumpkins is a great way to get creative and celebrate the Autumn season!
Pumpkin history:
The tradition of carving pumpkins at Halloween, known as making jack-o’-lanterns, has its roots in ancient Celtic and Irish folklore, evolving over centuries to become the popular Halloween activity we know today. Here’s an overview of the history behind Halloween pumpkins:
Origins in Celtic Traditions:
- Samhain Festival: The tradition of carving jack-o’-lanterns is closely tied to the ancient Celtic festival of Samhain, which was celebrated on October 31st. Samhain marked the end of the harvest season and the beginning of winter, a time when the Celts believed the boundary between the living and the dead was thin, allowing spirits to roam the earth.
During Samhain, people would light bonfires and use lanterns made of hollowed-out turnips or other vegetables to ward off evil spirits. These lanterns were meant to guide friendly spirits while keeping malevolent ones away from homes and villages.
The Legend of Stingy Jack:
- Irish Folklore: The specific tradition of the jack-o’-lantern comes from an Irish folk tale about a man named Stingy Jack. According to legend, Jack was a deceitful man who tricked the Devil multiple times, ultimately preventing his soul from entering both Heaven and Hell. As a result, he was cursed to wander the earth with only a burning coal to light his way. Jack placed this coal inside a carved-out turnip, creating a makeshift lantern.
In Ireland, people began carving scary faces into turnips, beets, and potatoes, placing them in windows or near doorways to scare away Stingy Jack and other wandering spirits.
Pumpkins Replace Turnips in America:
- Immigration to America: The tradition of carving turnips as jack-o’-lanterns was brought to America by Irish immigrants during the 19th century, particularly following the Irish Potato Famine in the 1840s.
In America, turnips were not as common as they were in Ireland, but pumpkins, native to North America, were plentiful in the Autumn season. Pumpkins were larger, softer, and easier to carve than turnips, making them the ideal replacement for the traditional lanterns.
Halloween and Pumpkins in the U.S.:
- Evolution of Halloween: In the U.S., Halloween evolved from its Celtic and Irish origins into a more community-centered celebration by the late 19th and early 20th centuries. By the early 20th century, jack-o’-lantern carving with pumpkins became a popular Halloween activity. Pumpkins, with their bright orange colour, became symbolic of the Autumn harvest and Halloween season.
Trick-or-treating also emerged around this time, along with decorations, parties, and costumes, solidifying the pumpkin’s place as a central symbol of Halloween festivities.
Pumpkin carving, now synonymous with Halloween, is a great way to enjoy with children. Whether you get your pumpkin from a shop or pick-you-own at your local pumpkin patch, don’t miss out on the fun.